2023-01-24 更新
WSL2にUbuntu22.04を導入しようと思い、またsystemctlコマンド使えるようにしないとなーと思っていたら、いつの間にか、systemdが正式に対応していました。
手順はシンプルです。
1.WSLで「/etc/wsl.conf」というファイルを作成する。
Winodws側の「C:\Users\[ユーザ]\.wslconfig」とは別物なので注意。
2.以下の内容を記載し保存
[boot]
systemd=true
3.WSLを再起動
powershellで以下のコマンドを実行
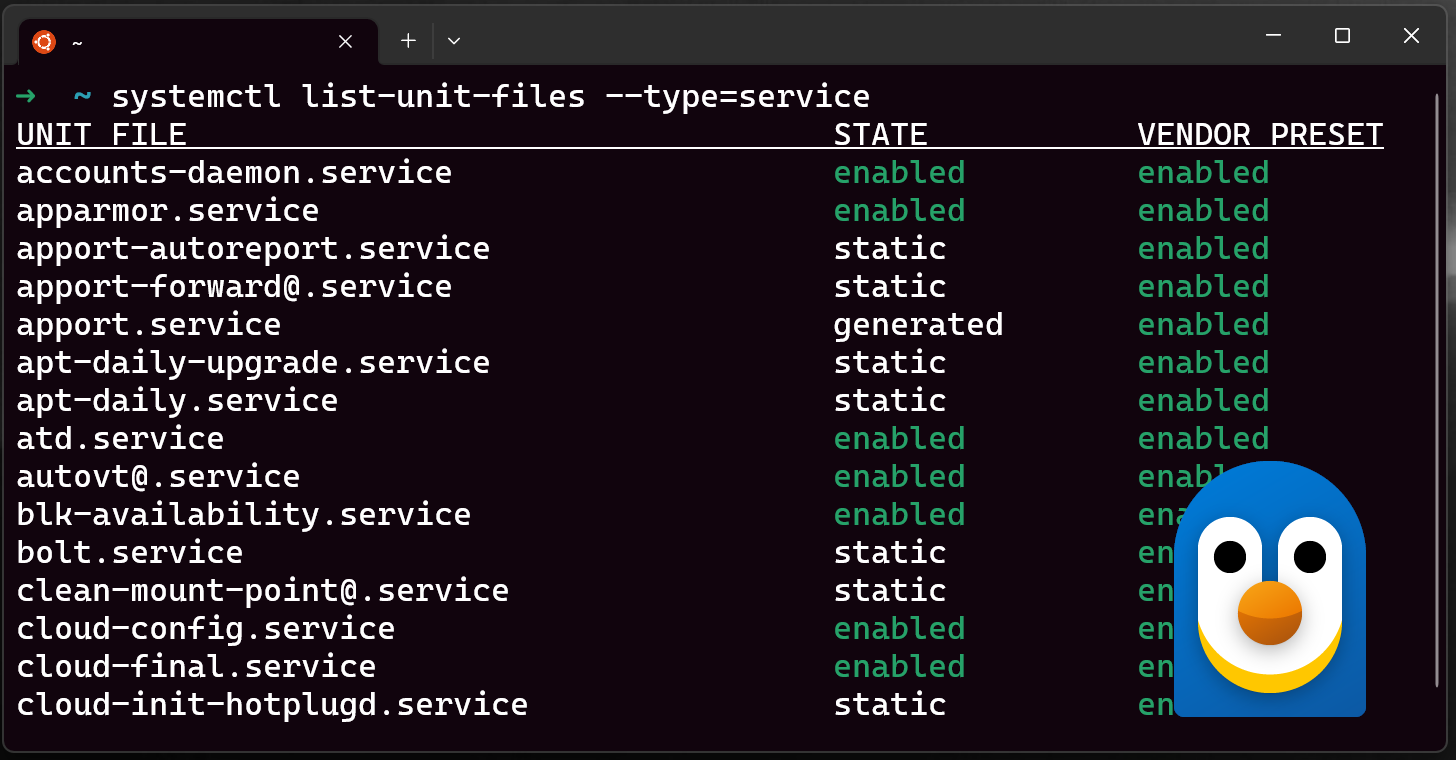
PS C:\Users\xxx> wsl --shutdown4.systemdがPID 1で起動していることを確認
$ ps -ae
    PID TTY          TIME CMD
      1 ?        00:00:00 systemd
      2 ?        00:00:00 init
Microsoftのブログ
これで、構築の都度genieを導入する作業から開放されました。
なので、以下の作業は今後不要になりました!
WSL2にUbuntuをインストールし systemctl コマンドを実行すると以下のようなエラーが発生し実行することができません。
$ systemctl
System has not been booted with systemd as init system (PID 1). Can't operate.
Failed to connect to bus: Host is down
そのため、以下のようなことができずに起動後に service コマンドを実行するシェルなどを実行して我慢していました。
- サービスの自動起動などを設定することができない
- 内部的にsystemctlを利用しているシステムを実行できない(minikubeなど)
今回この問題を解決する方法を解説されているサイトを元に手順をまとめてみましたので、同じ現象で困っている方は試してみてください。
[2021/12/18]Update
Microsoftのページに記載されているdotnet-runtimeのインストール方法では6.0がインストールされてしまうため、genieでサポートされている5.0をインストールする手順に記事を修正しました。
[2021/8/7]Update
OSをWindows11をアップグレードするために、クリーンインストールすることになり、WSL2の環境を再構築すると、これまでに方法ではsystemdをPID1で動作させることができなくなっていたため、手順を更新しました。
大きくは変わっていませんが、dotnetのバージョンなど依存プログラムが変わっているのでそのあたりに気をついて設定すれば問題なく利用できました。
Windows11でも問題なしです。
systemctlでエラーが発生する原因
答えは先ほどの systemctl コマンドのエラーメッセージにもありますが、 systemd が PID1 で動作していないためです。
System has not been booted with systemd as init system (PID 1).実際に ps aux コマンドでプロセスの状態を確認すると確かに PID1 は init プロセスとなっていることがわかります。
$ ps aux
USER       PID %CPU %MEM    VSZ   RSS TTY      STAT START   TIME COMMAND
root         1  0.0  0.0    892   552 ?        Sl   15:30   0:00 /init
root        49  0.0  0.0    892    80 ?        Ss   15:30   0:00 /init
root        50  0.0  0.0    892    80 ?        S    15:30   0:00 /init
snow        51  0.0  0.0  10040  4992 pts/0    Ss   15:30   0:00 -bash
snow       130  0.0  0.0  10604  3316 pts/0    R+   16:11   0:00 ps aux
原因がわかったので、対策としては systemd を PID1 で動作させる方法がわかれば、なんとかなりそうです。
systemdプロセスをPID1で稼働させる方法
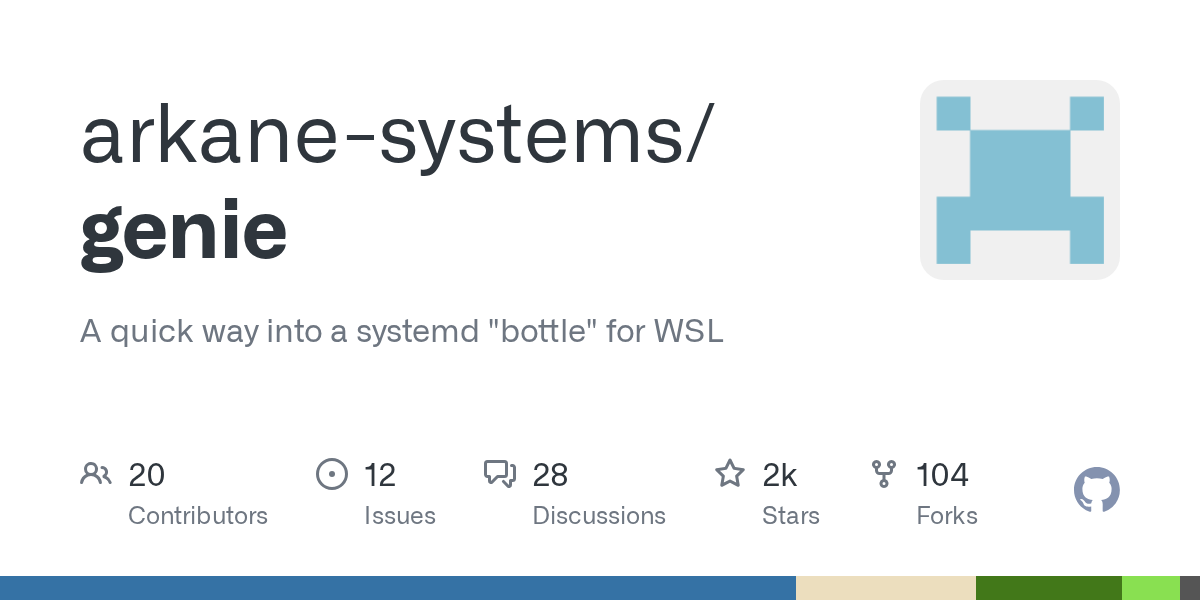
以下のGitHubで公開されている genie を利用することで systemd を PID1 で動作させることができます。
では、順番に設定していきましょう。
daemonizeなどの各種依存モジュールをインストール
genie のREADMEにも書かれていますが、debian系の場合は各種モジュールが必要となっています。
READMEの抜粋
Dependent packages on Debian are daemonize, dbus, dotnet-runtime-5.0, gawk, libc6, libstdc++6, policykit-1, systemd, and systemd-container. For the most part, these are either already installed or in the distro and able to be installed automatically. You need debhelper and dotnet-sdk-5.0 (and optionally pbuilder) to build the Debian package, but not to simply build genie or install locally.
The chief exception is dotnet-runtime-5.0 , for which you will need to follow the installation instructions here:
記載されている依存モジュールを全部インストールする必要があります。
最初にdotnet-runtime-5.0をインストールし、その後に残りのモジュールをインストールしましょう。
dotnet-runtime-5.0をインストール
以下のmicrosoftのページを参考にインストール用のコマンドを作成します。

2021-12-18現在は、dotnet-runtime-6.0のインストール方法が掲載されていますので、少し変更してdotnet-runtime-5.0をインストールする手順に置き換えます。
ubuntuのバージョンが20.04の場合は以下のコマンドを実行すればOKです。
wget https://packages.microsoft.com/config/ubuntu/20.04/packages-microsoft-prod.deb -O packages-microsoft-prod.deb
sudo dpkg -i packages-microsoft-prod.deb
rm packages-microsoft-prod.deb
sudo apt-get update; \
sudo apt-get install -y apt-transport-https && \
sudo apt-get update && \
sudo apt-get install -y aspnetcore-runtime-5.0残りの依存モジュールをインストールする
sudo apt install -y daemonize dbus gawk libc6 libstdc++6 policykit-1 systemd systemd-containerwsl-transdebianのリポジトリ設定
以下のページを参考に wsl-transdebianのリポジトリを設定します。

sudo apt install apt-transport-https

sudo wget -O /etc/apt/trusted.gpg.d/wsl-transdebian.gpg https://arkane-systems.github.io/wsl-transdebian/apt/wsl-transdebian.gpg

sudo chmod a+r /etc/apt/trusted.gpg.d/wsl-transdebian.gpg

sudo cat << EOF > /etc/apt/sources.list.d/wsl-transdebian.list
deb https://arkane-systems.github.io/wsl-transdebian/apt/ $(lsb_release -cs) main
deb-src https://arkane-systems.github.io/wsl-transdebian/apt/ $(lsb_release -cs) main
EOF

sudo apt update
genieインストール
genie をインストールします。
sudo apt install -y systemd-genie
genieを実行しsystemdをPID1にする
genie がインストールできたら実行してみましょう。
genie -sしかし、初期状態では240秒ほど待たされてしまいます。。。
genie起動時に長時間待機されるエラーを解消する
genieを起動すると240秒経過したあとに以下のような警告メッセージが表示されます。
Waiting for systemd....!!!!!!!!!!!!!!!!!!!!!!!!!!!!!!!!!!!!!!!!!!!!!!!!!!!!!!!!!!!!!!!!!!!!!!!!!!!!!!!!!!!!!!!!!!!!!!!!!!!!!!!!!!!!!!!!!!!!!!!!!!!!!!!!!!!!!!!!!!!!!!!!!!!!!!!!!!!!!!!!!!!!!!

Timed out waiting for systemd to enter running state.
This may indicate a systemd configuration error.
Attempting to continue.
Failed units will now be displayed (systemctl list-units --failed):
  UNIT                       LOAD   ACTIVE SUB    DESCRIPTION
● systemd-remount-fs.service loaded failed failed Remount Root and Kernel File Systems
● multipathd.socket          loaded failed failed multipathd control socket

LOAD   = Reflects whether the unit definition was properly loaded.
ACTIVE = The high-level unit activation state, i.e. generalization of SUB.
SUB    = The low-level unit activation state, values depend on unit type.

2 loaded units listed.
上記2つのエラーについて解消することで10秒程度で正常に起動することができるようになります。
systemd-remount-fs.serviceのエラーを解消する
genieのページに解決方法が記載されていますので、そちらを参考にします。
This occurs because systemd-remount-fs is trying to remount the root partition to make sure that it has the options configured in /etc/fstab; and the Ubuntu default /etc/fstab assumes that the root partition is labeled “cloudimg-rootfs”. This isn’t the case under WSL (the root partition is one of its .vhdx files), so the remount fails. (This isn’t strictly a problem with the service – you’d get the same error if you tried to remount / manually.)
There are two ways to solve this one: either find the device the root partition is mounted from (probably /dev/sdb, but check first), and label it appropriately:
「cloudimg-rootfs」というラベルが必要になるので、ルートパーティションがマウントされているデバイスにラベルを付けましょう。
とう言うことですので、dfコマンドなどでルートパーティションのデバイス名を確認します。
$ df
Filesystem     1K-blocks      Used Available Use% Mounted on
/dev/sdb       263174212   6028448 243707608   3% /
tools          498867196 178713864 320153332  36% /init
none             8043924         0   8043924   0% /dev
tmpfs            8046008         0   8046008   0% /sys/fs/cgroup
none             8046008       908   8045100   1% /run
none             8046008         0   8046008   0% /run/lock
none             8046008         0   8046008   0% /run/shm
none             8046008         0   8046008   0% /run/user
drivers        498867196 178713864 320153332  36% /usr/lib/wsl/drivers
lib            498867196 178713864 320153332  36% /usr/lib/wsl/lib
none             8046008         4   8046004   1% /mnt/wsl
none             8046008        64   8045944   1% /mnt/wslg
none             8046008        76   8045932   1% /mnt/wslg/versions.txt
none             8046008        76   8045932   1% /mnt/wslg/doc
drvfs          498867196 178713864 320153332  36% /mnt/c
drvfs           15728640    339788  15388852   3% /mnt/g
drvfs           15728640    400880  15327760   3% /mnt/h
私の環境ではルートパーティションは「/dev/sdb」でしたので、以下のコマンドを実行しラベルを付与します。
sudo e2label /dev/sdb cloudimg-rootfsmultipathd.socketのエラーを解消する
先程と同じく genieのページに解決方法が記載されていますので、そちらを参考にします。
The default WSL kernel does not include the multipath support. If you have a use case for multipath under WSL, compile and use a custom kernel which includes it. Otherwise, disable/mask this unit.
WSLではmultipathはサーポートされていないので、無効化する必要があるようです。
以下のコマンドを実行しmultipathを無効化しましょう。
sudo systemctl disable multipathd.socketgenieを起動時に実行するようにする
.bashrc ファイルに以下のページを参考に追記しましょう。
# Are we in the bottle?
if [[ ! -v INSIDE_GENIE ]]; then
  echo "Starting genie:"
  exec /usr/bin/genie -s
fi
これで、次回実行時に systemd がPID1でない場合 genie -s が実行されます。
systemdがPID1で稼働しているか確認する
$ ps aux
USER         PID %CPU %MEM    VSZ   RSS TTY      STAT START   TIME COMMAND
root           1  0.2  0.2 173092 13104 ?        Ss   18:43   0:00 /bin/systemd
root          44  0.1  0.2  53484 15464 ?        S<s  18:43   0:00 /lib/systemd/systemd-journald
root          65  0.0  0.0  18284  4944 ?        Ss   18:43   0:00 /lib/systemd/systemd-udevd
systemd+      70  0.0  0.1  18680  7860 ?        Ss   18:43   0:00 /lib/systemd/systemd-networkd
無事 systemd がPID1で動作しています。
systemctlが実行できるか確認する
sshd のステータスを systemctl で確認すると無事結果が表示されました
$ systemctl status sshd
● ssh.service - OpenBSD Secure Shell server
     Loaded: loaded (/lib/systemd/system/ssh.service; enabled; vendor preset: enabled)
     Active: failed (Result: exit-code) since Sun 2020-08-09 18:43:17 JST; 7min ago
       Docs: man:sshd(8)
             man:sshd_config(5)